The Esper Device Provisioner (EDP) streamlines provisioning for single or multiple Android Open Source Project (AOSP) devices. EDP uses Android Debug Bridge (adb) to communicate with Esper, and pulls in configuration instructions and apps that are installed during provisioning. Use EDP to avoid running multiple command line steps.
Current version: 8.2.0
In this article:
- Overview and Requirements
- Getting Started
- Configuring the Device Provisioner Upon First Use
- Selecting the Provisioning Template
- Operations
- Provisioning an AVD
- Logging Out of the Device Provisioner
- Using the Device Provisioner with Multiple Esper Tenants
- Troubleshooting
Overview and Requirements
At a glance:
- Available for AOSP and GMS devices.
- Available on Windows 10, MacOS, or Linux.
- Provisions via Ethernet, Wi-Fi, or USB.
EDP is intended for AOSP devices that don't have Android Enterprise enrollment methods available, but it can also provision Google Mobile Services (GMS) devices, including GMS devices without a camera. Android Studio virtual devices can also be provisioned using this tool.
You'll need a computer running Windows 10, MacOS, or Linux. The Device Provisioner installs adb for you in most cases. If you plan to provision over Wi-Fi or Ethernet, you may need to install adb yourself.
The Device Provisioner has different requirements depending on the provisioning method:
- USB: If you provision multiple devices from one development PC, you'll need a USB hub.
- Wi-Fi: Devices need to connect to the same access point as your computer. For most devices, you first need to run an adb command over USB before adb over Wi-Fi will work.
- Ethernet: Devices need to connect to the same subnet as your computer. You can provision up to 16 devices at once using the Device Provisioner.
Getting Started
Before using the Esper Device Provisioner, create at least one Provisioning Template or Blueprint in the Esper Console.
Instructions for Windows 10
- Download the provisioner file to your Windows computer.
-
Open File Explorer and navigate to where you downloaded the file. If you haven't specified another location, it's probably in your Downloads folder.
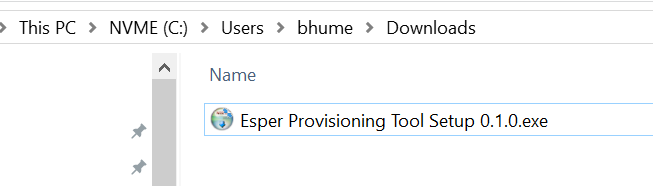
-
Double-click the file to start the installation. A dialog box shows the installation progress.
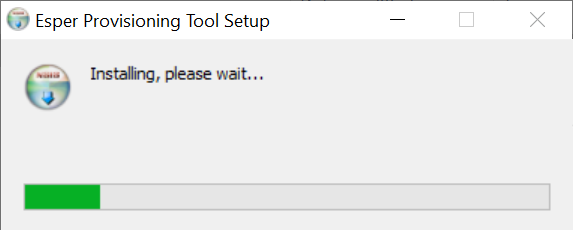
Once installed, the Device Provisioner is ready to be configured.
Instructions for macOS
- Download Esper Device Provisioner to your MacOS computer.
-
Open Finder and navigate to where you downloaded the file. If you haven't specified another location, it's probably in your Downloads folder.
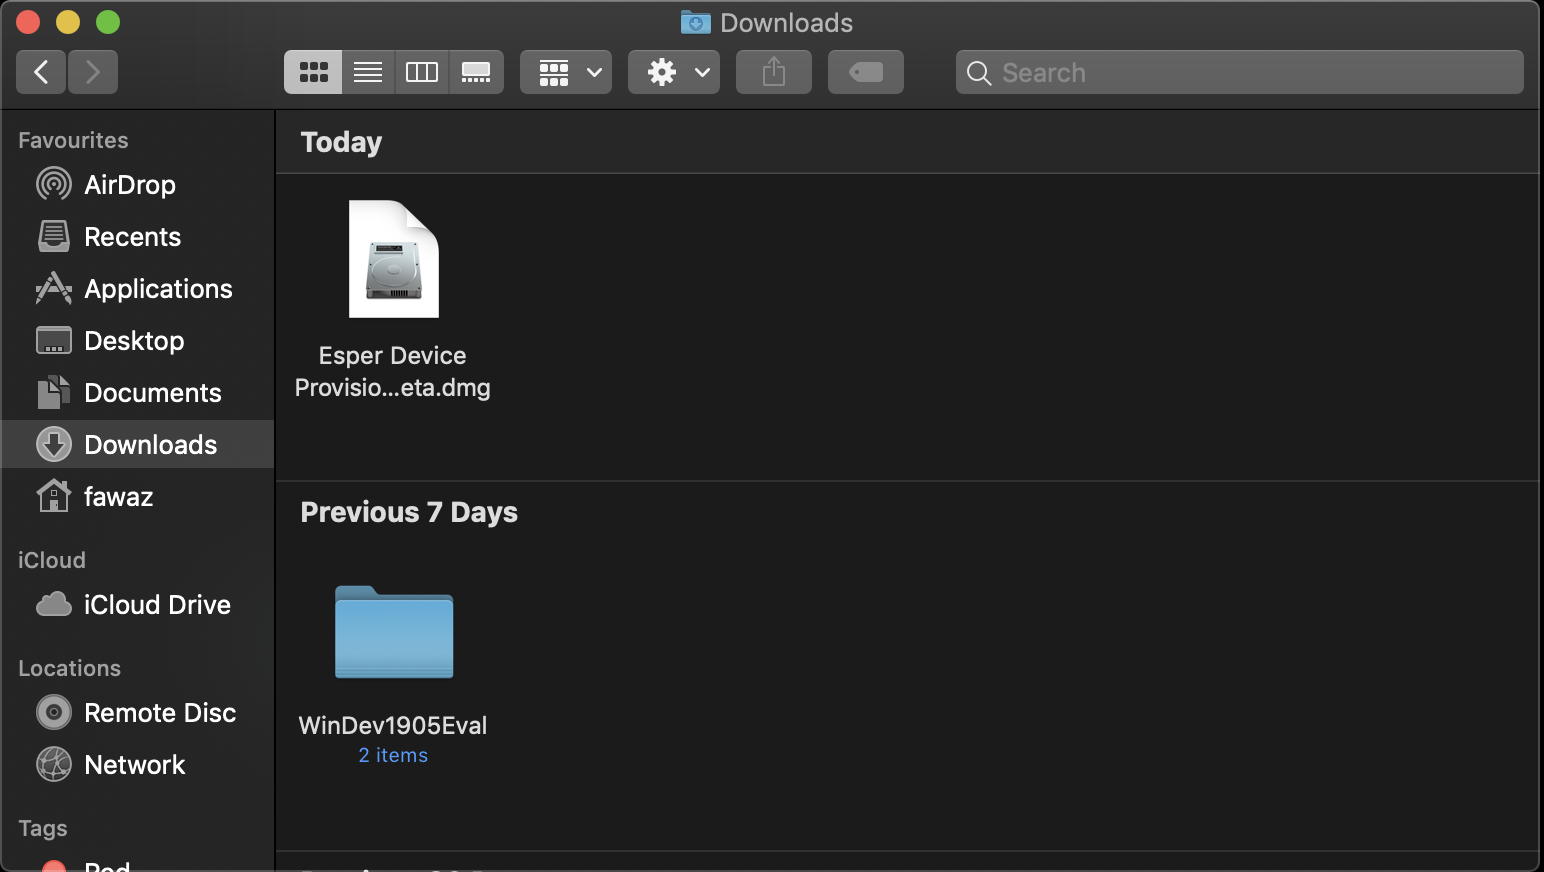
-
Move Esper Device Provisioner to the Applications folder.
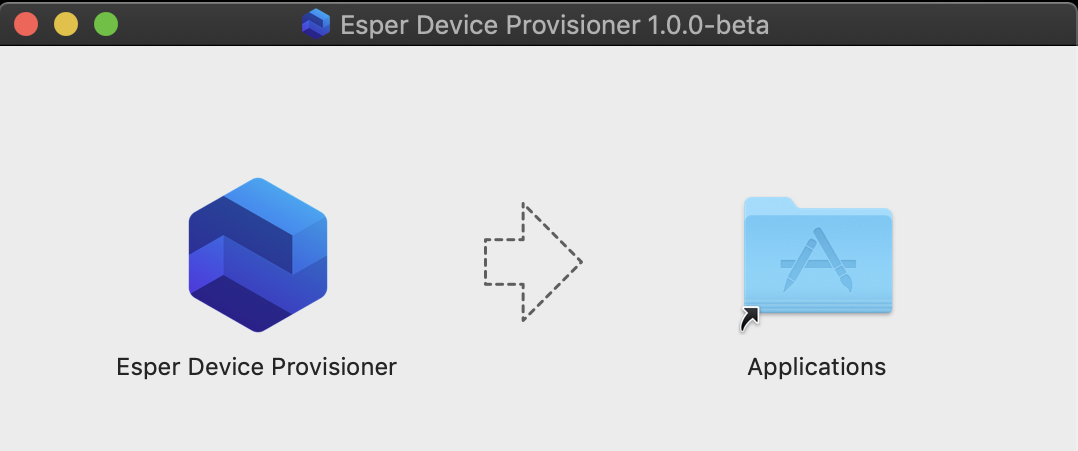
-
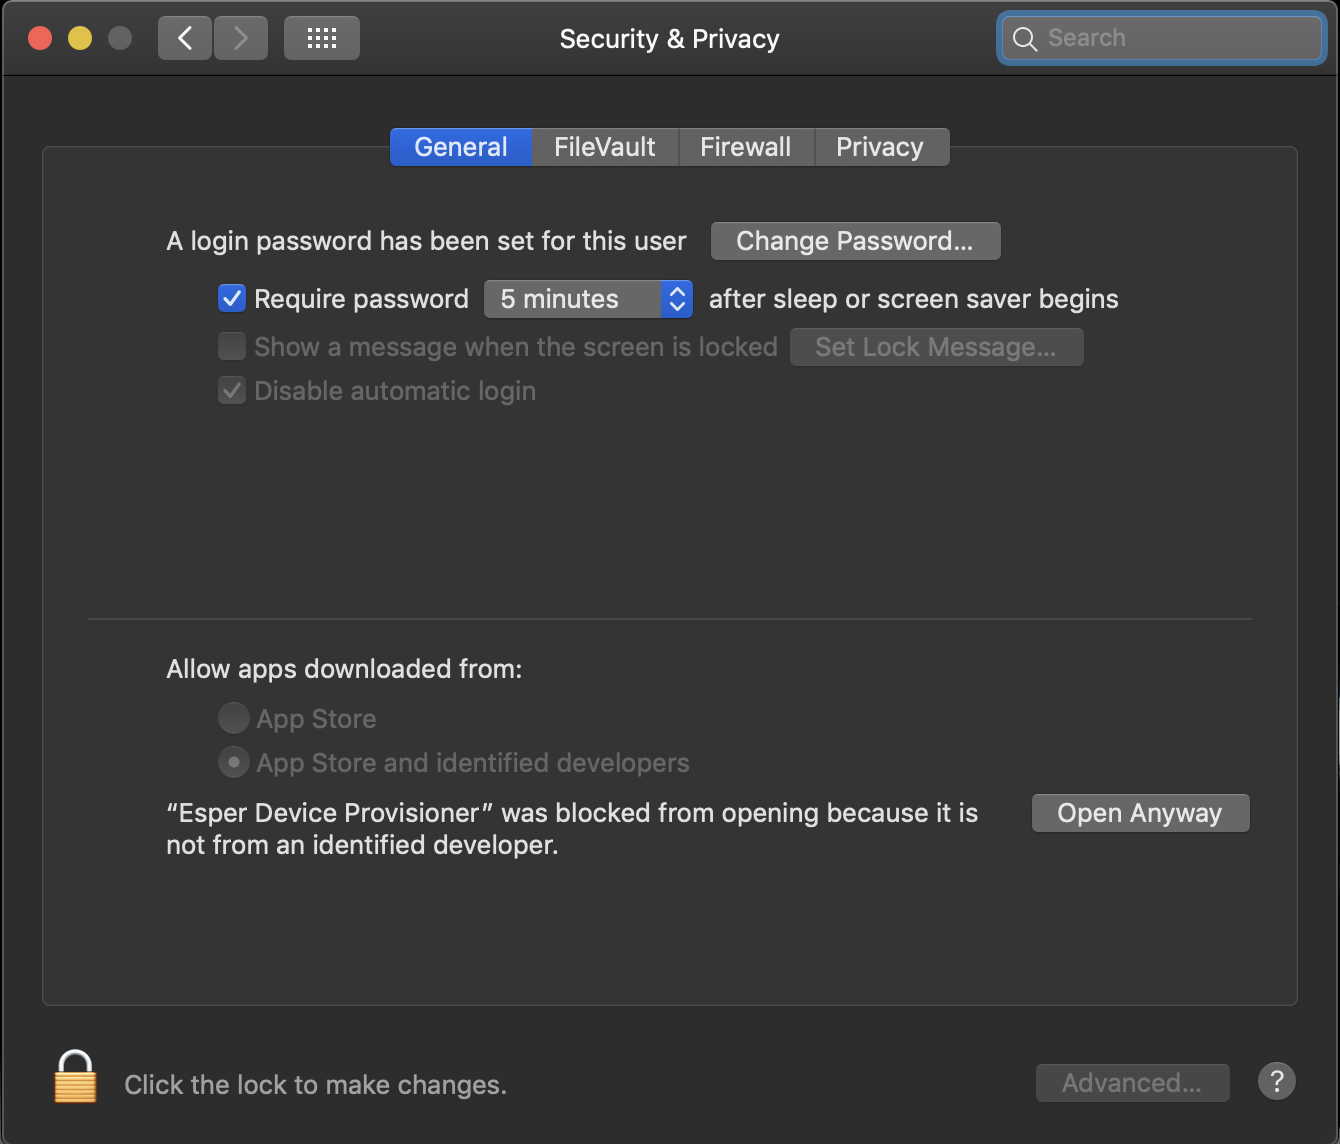
MacOS doesn't trust executable files downloaded from the internet by default, so you may need to allow MacOS to open the Device Provisioner file. Navigate to System Preferences > Security & Privacy and click Open Anyway. This process may differ slightly depending on your OS version.
-
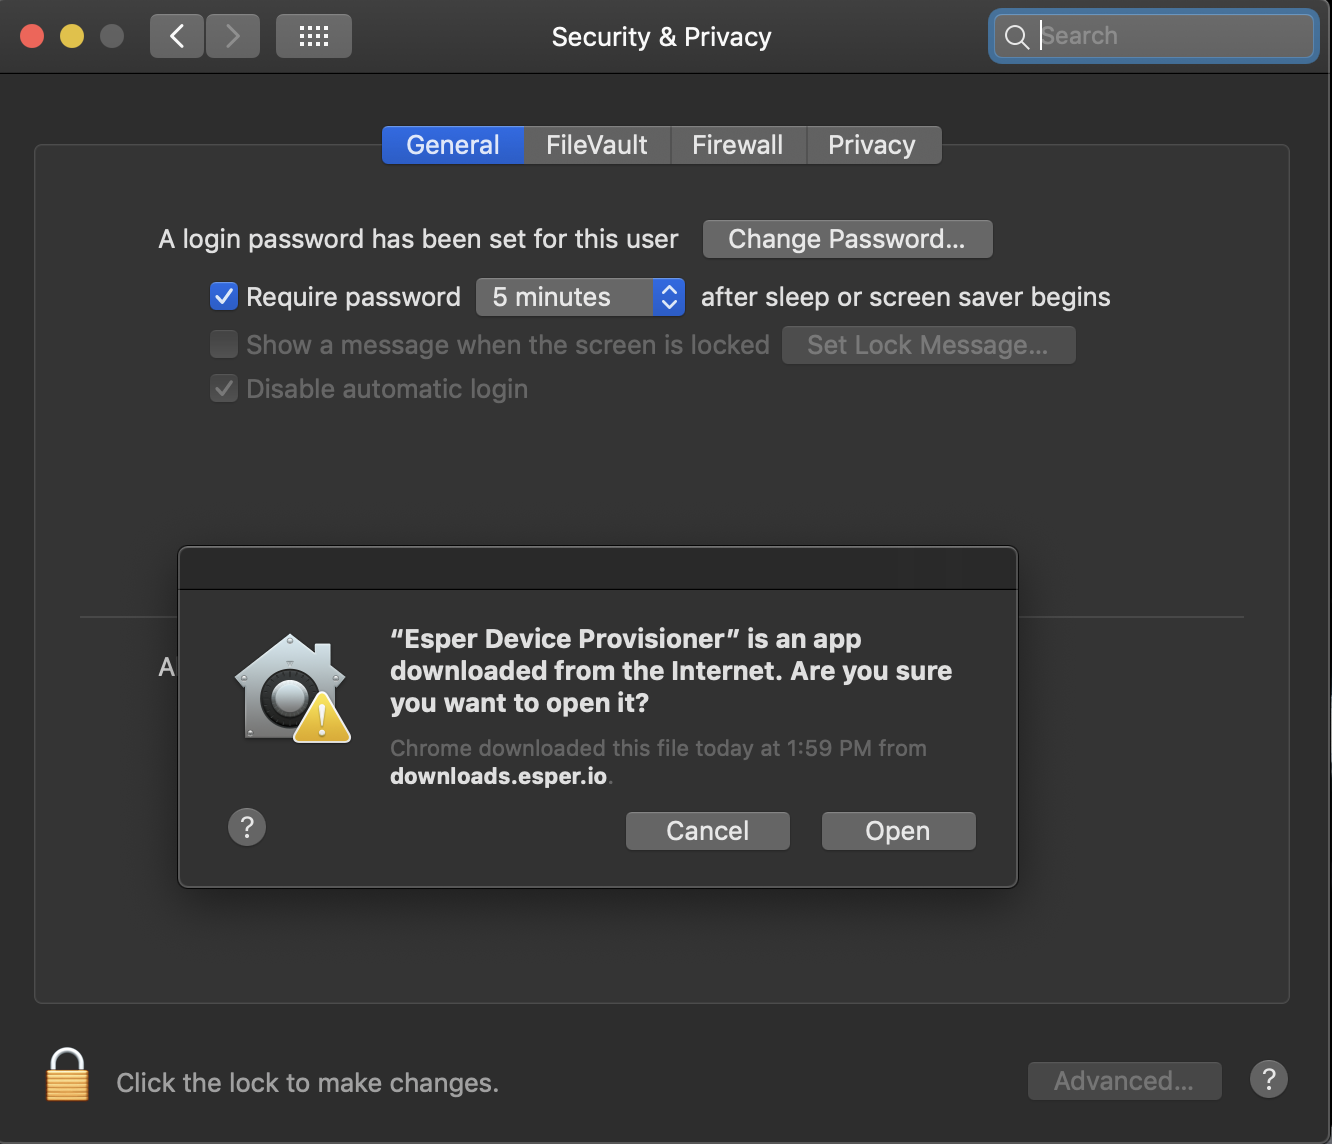
Click Open in the dialog box that appears.
Once installed, the Device Provisioner is ready to be configured.
Instructions for Linux
- Download the corresponding version of the Device Provisioner to your Linux computer:
-
Navigate to the downloaded file and double-click it to start the installation.

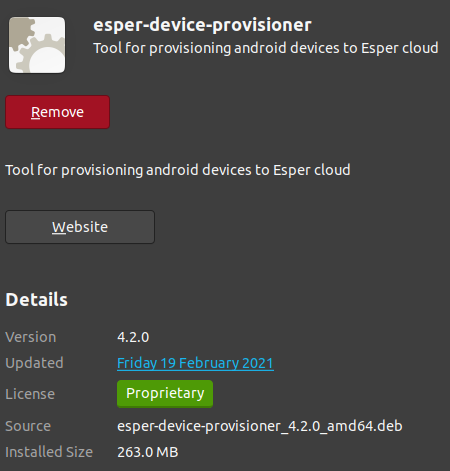
The following screen appears once installation is complete.
The Device Provisioner is ready to be configured. Double-click the Device Provisioner icon to start provisioning devices.
Configuring the Device Provisioner
Once the Device Provisioner is installed, connect it to your Esper tenant.
-
Enter the name or URL of your Esper tenant in the tenant box. For example, if your tenant URL is
sample.esper.cloud, entersample. -
Enter your login credentials.
The Device Provisioner performs any required setup on your first login. After that, you're directed to the Getting Started section, and the Device Provisioner is connected to your tenant.
The Device Provisioner supports Dark Mode, and defaults to your system theme. You can also manually switch the Device Provisioner to Dark Mode on the Get Started screen.
Preparing a Device for Provisioning
In the top right corner of the Esper Device Provisioner, a toggle button switches between Dark Mode and Light Mode.
Dark Mode
Light Mode
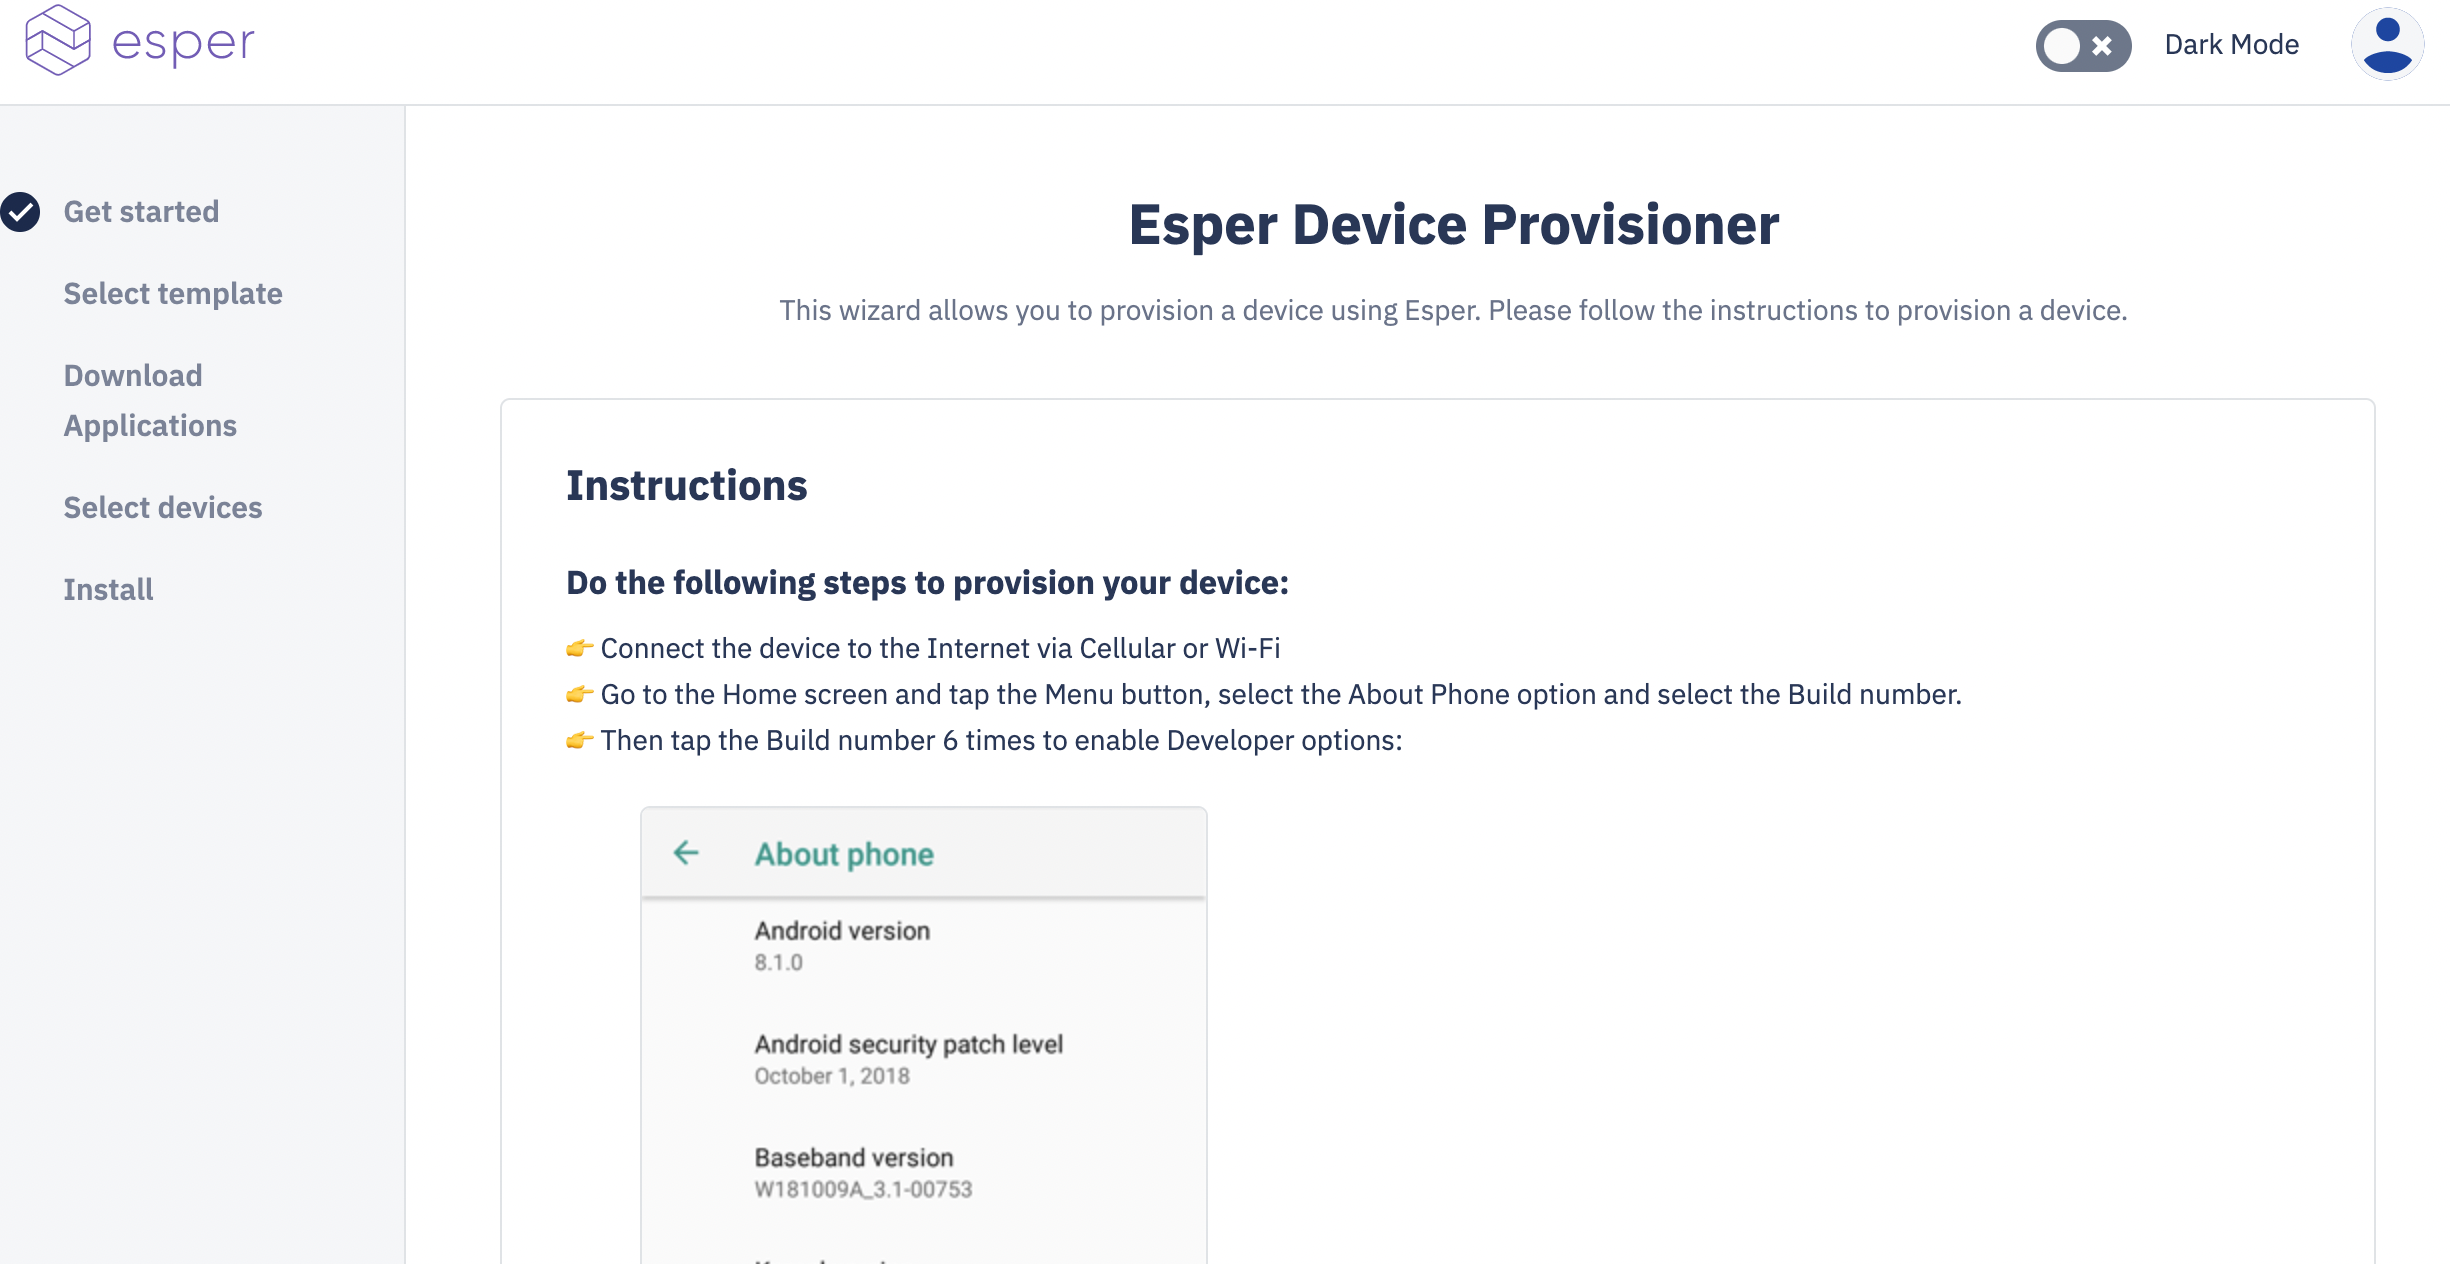
Click the profile icon in the top right corner to view all your Esper tenants.
You need to prepare your device before it can be provisioned using the Device Provisioner. Follow the Device Provisioner's on-screen instructions or the steps below.
- Connect the device to the internet via Wi-Fi, cellular, or Ethernet.
-
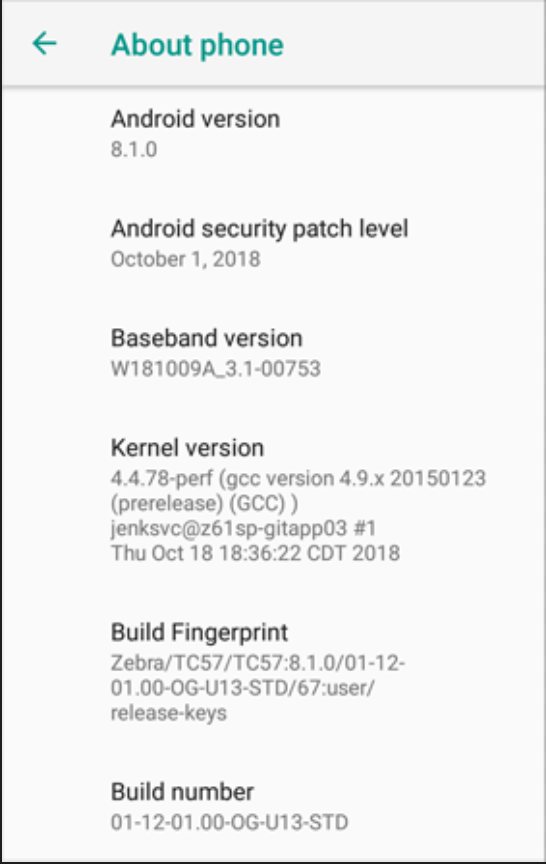
Enable Developer options on the device, if they aren't already enabled. Navigate to Settings > About, then tap the Build Number several times.
Some AOSP devices ship with Developer options already enabled. If that's the case for your device, skip this step.Developer options should now appear in Settings. It can take a few moments for these options to become available in the Settings menu.
- On the device, navigate to Settings > Developer options.
-
Scroll to the DEBUGGING section and turn on USB debugging. In the popup that appears, click OK to allow USB debugging.
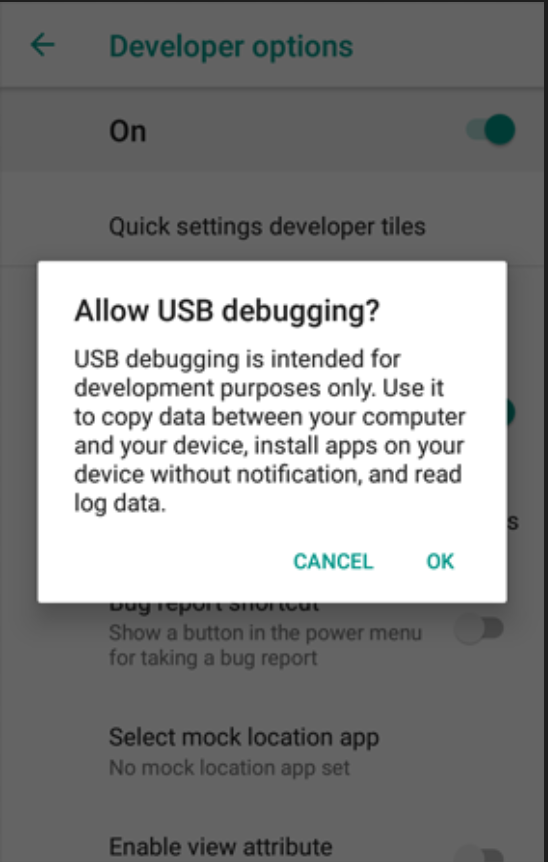 Tip: Some AOSP devices ship with USB debugging already turned on. If that's the case for your device, skip this step. Once the device is provisioned onto Esper, Esper prevents local adb debugging sessions unless it's enabled in the template or blueprint.
Provisioning via USB
If you're using a USB cable to connect your Android device to your development computer for provisioning, follow these steps.
-
Plug the USB cable into the Android device, then connect it to your development computer. An authorization dialog box to allow USB debugging appears. Click OK. Checking Always allow from this computer is optional.
If your AOSP device is configured to automatically allow an adb connection to a computer, you won't see this dialog box. If you have adb installed on your computer, verify the connection by runningadb devicesfrom the command line. Your device should appear in the list. You can also see which devices are connected on the Select Devices screen. -
Once the device is prepared, return to the Device Provisioner and click Next on the Get Started screen.
Some specialized AOSP devices have additional settings under Developer options that need to be configured to provision the device using the Device Provisioner. This typically includes the mode the USB port operates in, for example Host or Device.
To provision Xiaomi/Redmi devices
- Navigate to Settings > About Phone > MIUI version and tap until the "You are now a developer" popup appears.
- Navigate to Settings > Additional Settings > Developer Options and enable USB debugging. Click OK on the prompt.
-
Navigate to Settings > Additional Settings > Developer Options and enable Install via USB.
You need a SIM inserted into your device, and you need to sign in to your MI account. - Navigate to Settings > Additional Settings > Developer Options and disable MIUI optimization.
- Navigate to Settings > Additional Settings > Developer Options, click Revoke USB debugging authorization, then click OK.
-
Navigate to Settings > Additional Settings > Developer Options and enable USB Debugging (Security settings).
If provisioning still fails, you may need to remove the Google/MI account you added previously.
Provisioning via Wi-Fi
To enable adb over Wi-Fi on the same subnet as your computer, you typically need to first run an adb command on the device while it's connected via USB, so you'll need adb installed on your system. Some device firmware is already set up for adb over Wi-Fi, which is useful when provisioning a large number of devices at once. Otherwise, connect the device via USB cable to start, since completing the process over USB may be more efficient.
- Follow the steps in Provisioning via USB, and keep the device connected via USB cable to your development PC.
- Open your command line and run
adb tcpip 5555. You can now disconnect the USB cable from the Android device and your development PC. - Note the Android device's IP address, typically found under Settings > About tablet (or About phone) > Status > IP address. You'll use the IP address in a later step.
Provisioning via Ethernet
To provision via Ethernet, ensure your Android device or devices are connected to the same subnet as your computer (the computer can be connected via either Ethernet or Wi-Fi). You typically need to first run an adb command on the device while it's connected via USB, so you'll need adb installed on your system. Some device firmware is already set up for adb over Ethernet, which is useful when provisioning a large number of devices at once. Otherwise, connect the device via USB cable to start, since completing the process over USB may be more efficient.
- Follow the steps in Provisioning via USB, and keep the device connected via USB cable to your development PC.
- Open your command line and run
adb tcpip 5555. You can now disconnect the USB cable from the Android device and your computer. - Note the Android device's IP address, typically found under Settings > About tablet (or About phone) > Status > IP address. You'll use the IP address in a later step.
You can provision the device with a blueprint or a template.
Selecting the Provisioning Type
Choose the Blueprints or legacy Templates provisioning type.
Blueprints
Choose a group for the device. Select the All devices group if you have no preference.
Templates (legacy)
- Click Next to view the Select Template screen.
-
Select the template you want to use to provision your device by clicking the radio button for that template. Available templates are listed from most recently created. Use the search box to filter templates by name.
You need to have already created your Provisioning Template in the Esper Console for it to be available here. You can't create a template in the Device Provisioner; it can only be done through the Esper Console.Tip: If you create a new template in the Esper Console while on the Select Template screen, click Previous to return to Get Started, then click Next to return to Select Template. This refreshes the list of available templates, and your new template appears. -
If you selected the wrong template, click the X next to the template name in the Selected template field, and select the correct template.
- Once your template is selected, click Next.
Operations
You're now on the Download Applications screen. The Device Provisioner displays all the Enterprise Apps associated with the selected Provisioning Template or Blueprint.
These Enterprise Apps download to your PC to be installed on the device or devices you're provisioning in the next step. This keeps each device from retrieving the app or apps from your tenant during provisioning, which is especially useful when provisioning multiple devices at once.
For applications that require sideloading, use one of the following methods under Additional Application:
- Local Application Path: Choose the file to upload.
- URL of Application: Enter the URL of the download point for the APK.
You can also modify permissions for application installation. Allow installation of apps from unknown sources is on by default; turn it off to prevent these types of apps from being installed. Disable Package Verifier is on by default, which lets you install unsigned apps, useful during app development.
Some device firmware prevents enrollment of the device into Esper. If Esper supplies you with a debug agent and helper to diagnose enrollment issues, turn on Debug Esper Agent. Two fields appear: enter the full path for the agent, and the full path for the agent helper.
You can also run adb commands during provisioning using the tool.
Once you're satisfied with your selections on the Download Applications screen, click Next.
Select Devices
On the Select Devices screen, choose devices for provisioning based on your pairing method.
Wireless Pairing (Android 11+)
- Enter the IP address, pairing port, and 6-digit code to pair the device.
- If prompted, enter the device's port to connect. This can occur if the device uses a different port to connect.
- The device appears in the pairing list.
Devices Connected via USB
If your device or devices are connected via USB and you've allowed USB debugging, they're listed under Select Devices. Select the checkbox next to each device you want to provision (or Select all to provision multiple devices), then click Install in the lower right corner.
Devices Connected via Wi-Fi or Ethernet
If your device is connected via Wi-Fi or Ethernet and isn't already listed under Select Devices, enter the device's IP address and Port number under Add Devices, then click Connect.
Once you click Connect, the device appears under Select Devices. Repeat these steps for additional devices. Once all devices are added and selected (individually or via Select all), click Install.
Install
After clicking Install on the Select Devices screen, you're taken to the Install screen, which shows the installation progress of the Esper Agent on the device or devices you're provisioning. This step installs the required device-side software; it doesn't perform provisioning itself. To complete provisioning, follow the prompts from the Esper Agent on your device.
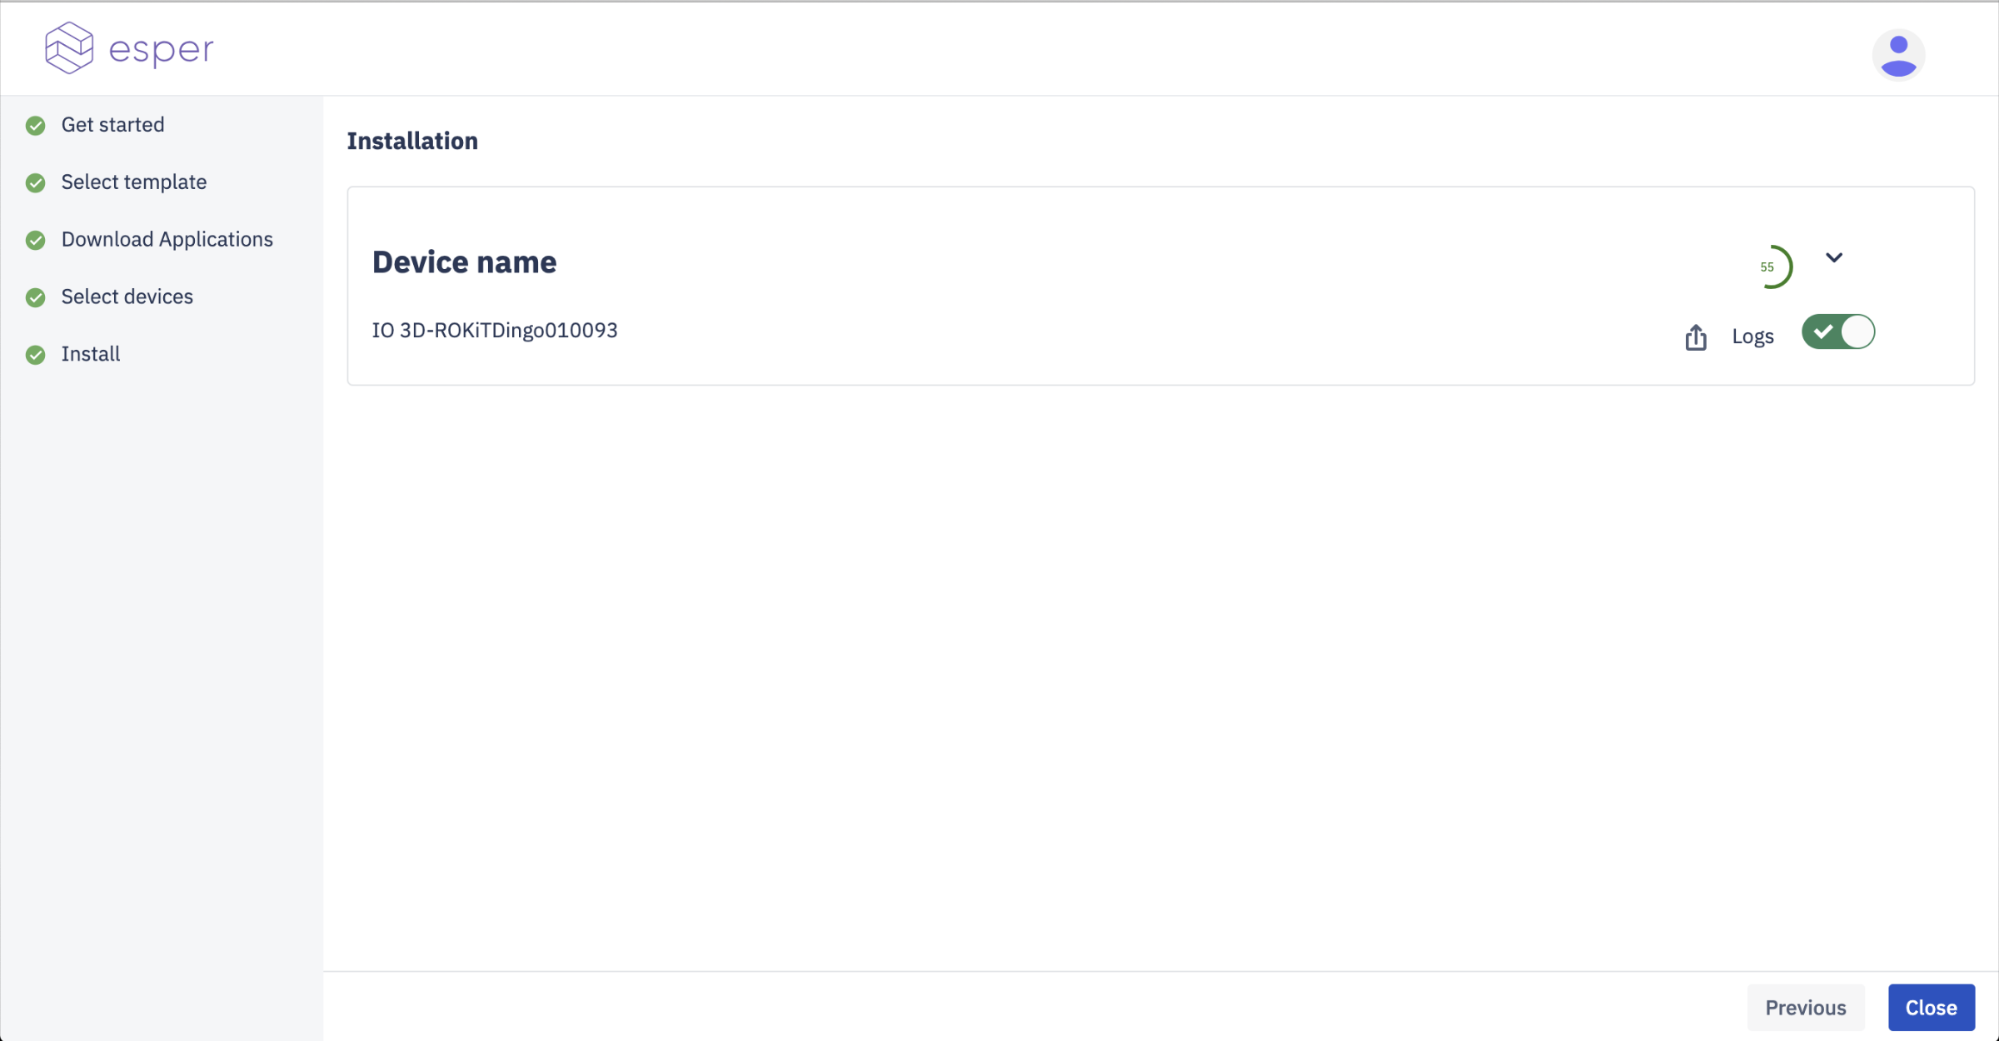
A percentage indicator on the right side of the device name bar shows installation progress.
Click the downward arrow to see installation details, and click it again to collapse the details view. In the details view, you'll see step-by-step progress for installing the Esper Agent on your device.
Toggle the Logs switch to view detailed installation logs as the device-side software installs. These logs are useful to Esper Support if installation fails, but aren't needed for typical use.
Once you select the downward caret to view details, a log window shows installation progress on the device.
To download a copy of the logs to share with Esper, click the download button. A dialog box lets you save the log file locally on your development PC without an extension (it's a text file). You don't need Logs turned on to download the log file.
Once the Esper Agent is successfully installed on the device, the progress indicator shows 100.
You're now done with the Device Provisioner. Click Close to exit.
To complete the provisioning process, go to the device or devices that have the Esper Agent installed.
Steps on the Device
Device steps can also be found in Android for Work (AFW) Provisioning.
Device Provisioning Steps
Once the Esper Agent is installed on the device, it starts automatically and begins enrollment and provisioning, moving through several setup screens.
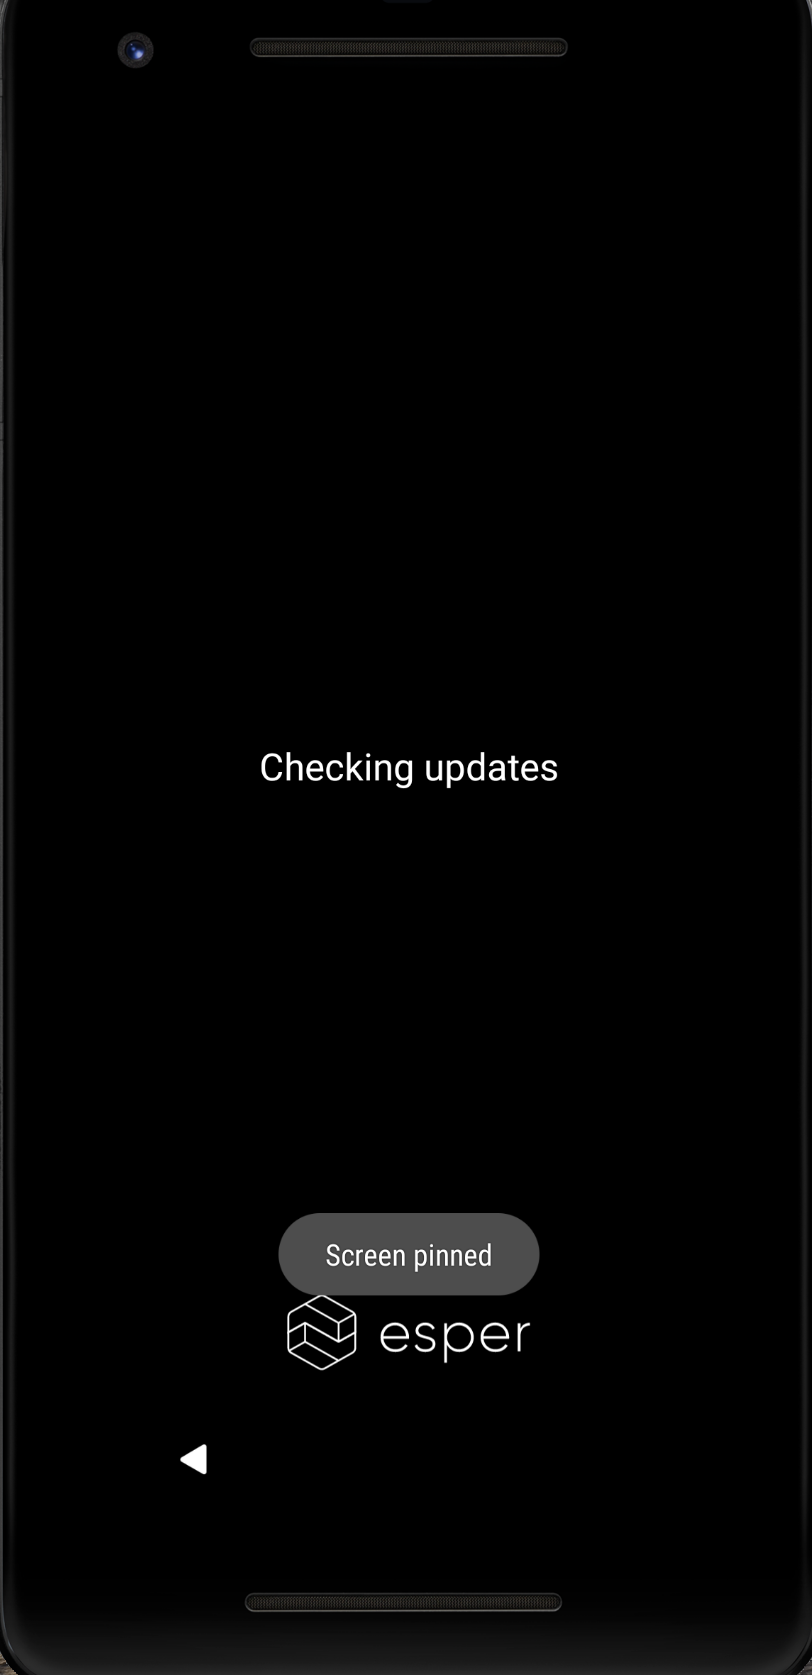
During provisioning, you may see notifications related to variations in Android firmware. If the device displays a prompt like the one shown below, select Decline. Accepting this security check may block the Device Provisioner from installing apps.
If your device includes Google Play, that service needs to update, which can take some time. If you included Google Play apps in your Provisioning Template on a device that supports Google Play, those apps are installed by the Google Play service. Installation times vary.
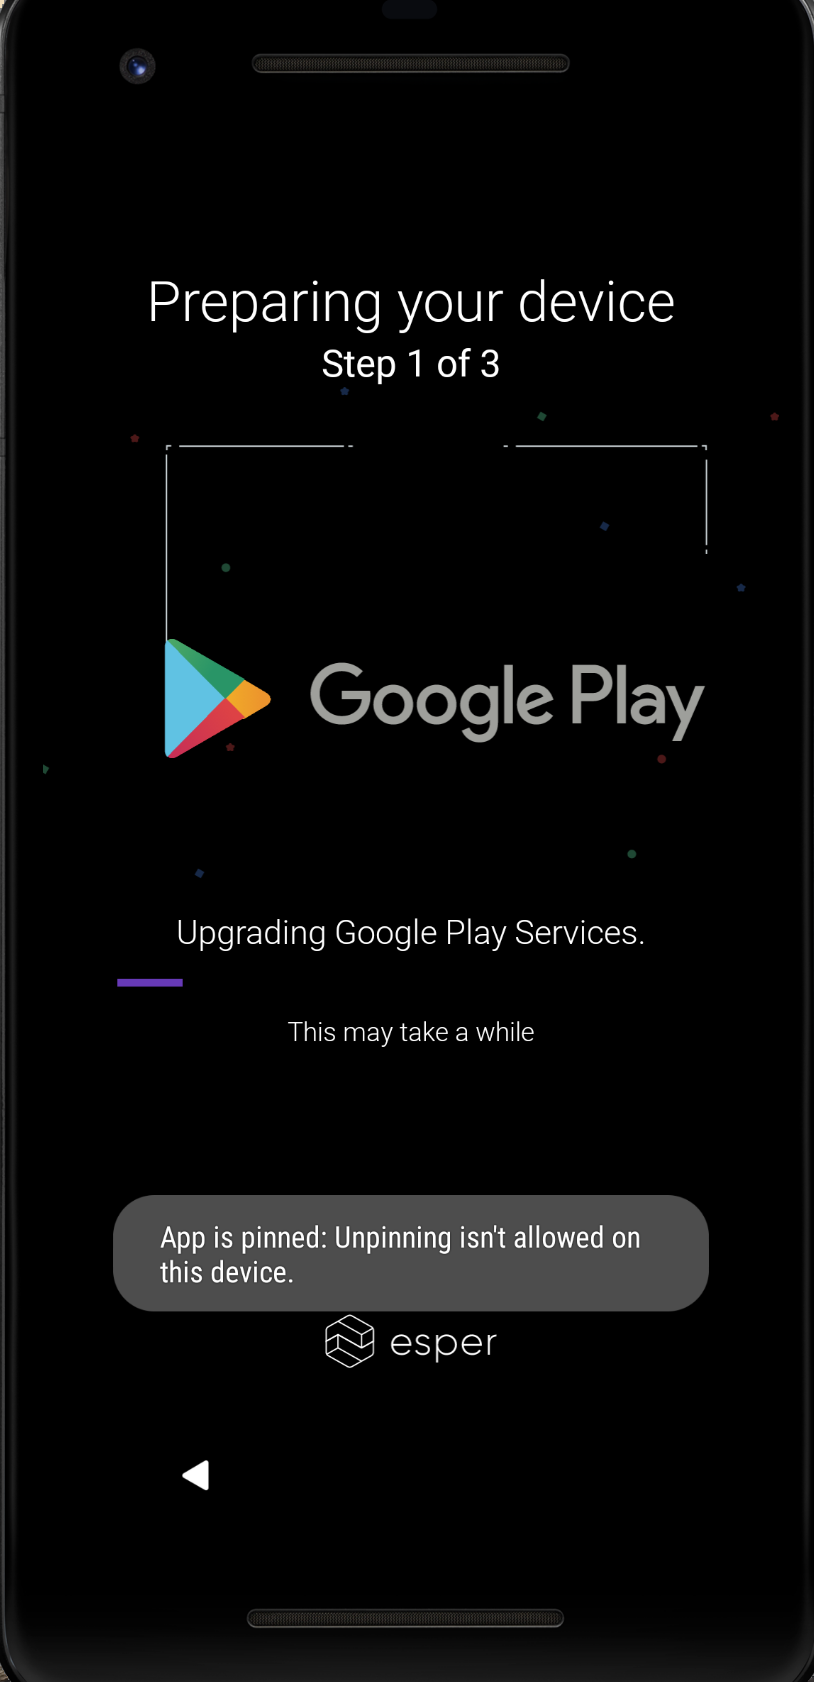
To exit the provisioning process, touch or click the Esper logo six times to bring up the option to factory reset the device.
Depending on the state of the device's firmware, you'll typically need to take several actions on the device. The example below is based on an Android 7.1 GMS device. Earlier Android versions, such as Android 5.1, exhibit slightly different behavior (for example, activating device administrator and enabling accessibility services). Follow the prompts provided by the Esper Agent to complete enrollment and provisioning. On devices without a touch screen, or if navigation buttons aren't displayed, an external peripheral like a mouse is required.
Some devices don't require these actions, and in those cases the Esper Agent won't prompt you. Contact Esper if you run into any issues completing provisioning on the device.
You'll typically need to resolve the permission for Esper to modify system settings. Touch or click RESOLVE to open the Android System settings app and grant the permission.
On the Can modify system settings screen, you'll see a list of apps that have been granted or are requesting permission to modify system settings. Esper Device Management is currently set to No or Not allowed. Touch or click Esper Device Management.
On the Modify system settings screen for Esper Device Management, turn on the switch on the right side of the screen to allow modifying system settings.
Click the back button in the upper left corner of the screen.
You're returned to the Can modify system settings screen, where Esper Device Management is now set to Yes or Allowed. Click the back button in the nav bar.
You're returned to the Esper Agent. You'll typically need to grant another permission to allow Esper to draw over other apps, which ensures a smooth experience for Kiosk mode apps. Touch or click RESOLVE to open the Android system settings app and grant the permission.
On the Display over other apps or Draw over other apps screen, you'll see a list of apps that have been granted or are requesting permission to display over other apps. Esper Device Management is currently set to No or Not allowed. Touch or click Esper Device Management.
On the Display over other apps or Draw over other apps screen for Esper Device Management, turn on the switch on the right side of the screen to allow display over other apps or permit drawing over other apps.
Click the back button in the upper left corner of the screen.
You're returned to the Display over other apps screen, where Esper Device Management is now set to Yes or Allowed for drawing over other apps. Click the back button in the nav bar.
You're returned to the Esper Agent to install any Esper Enterprise apps.
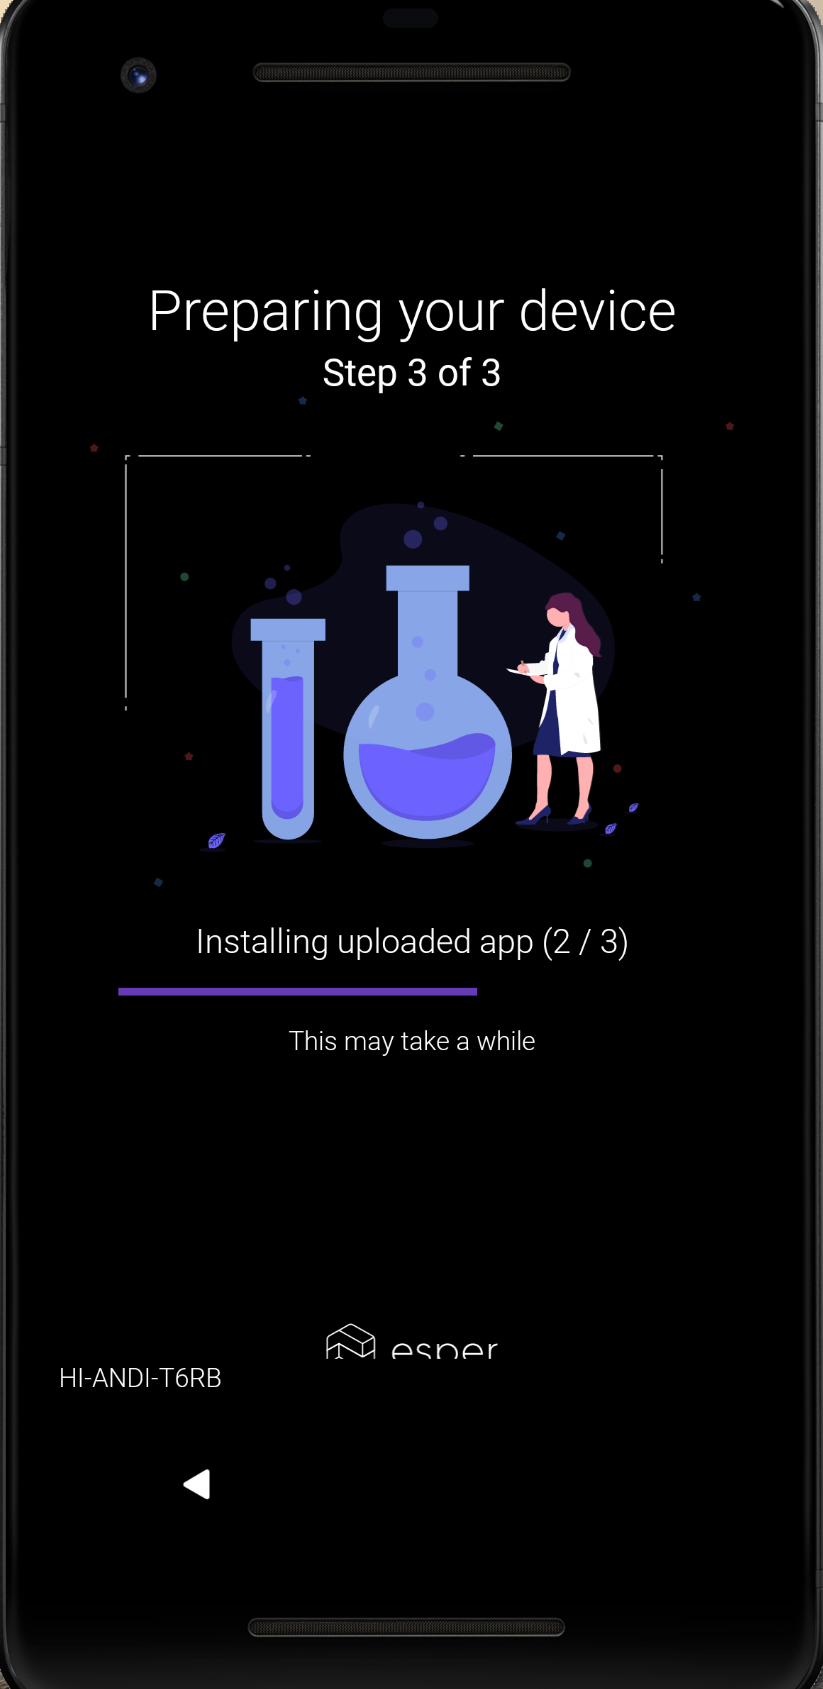
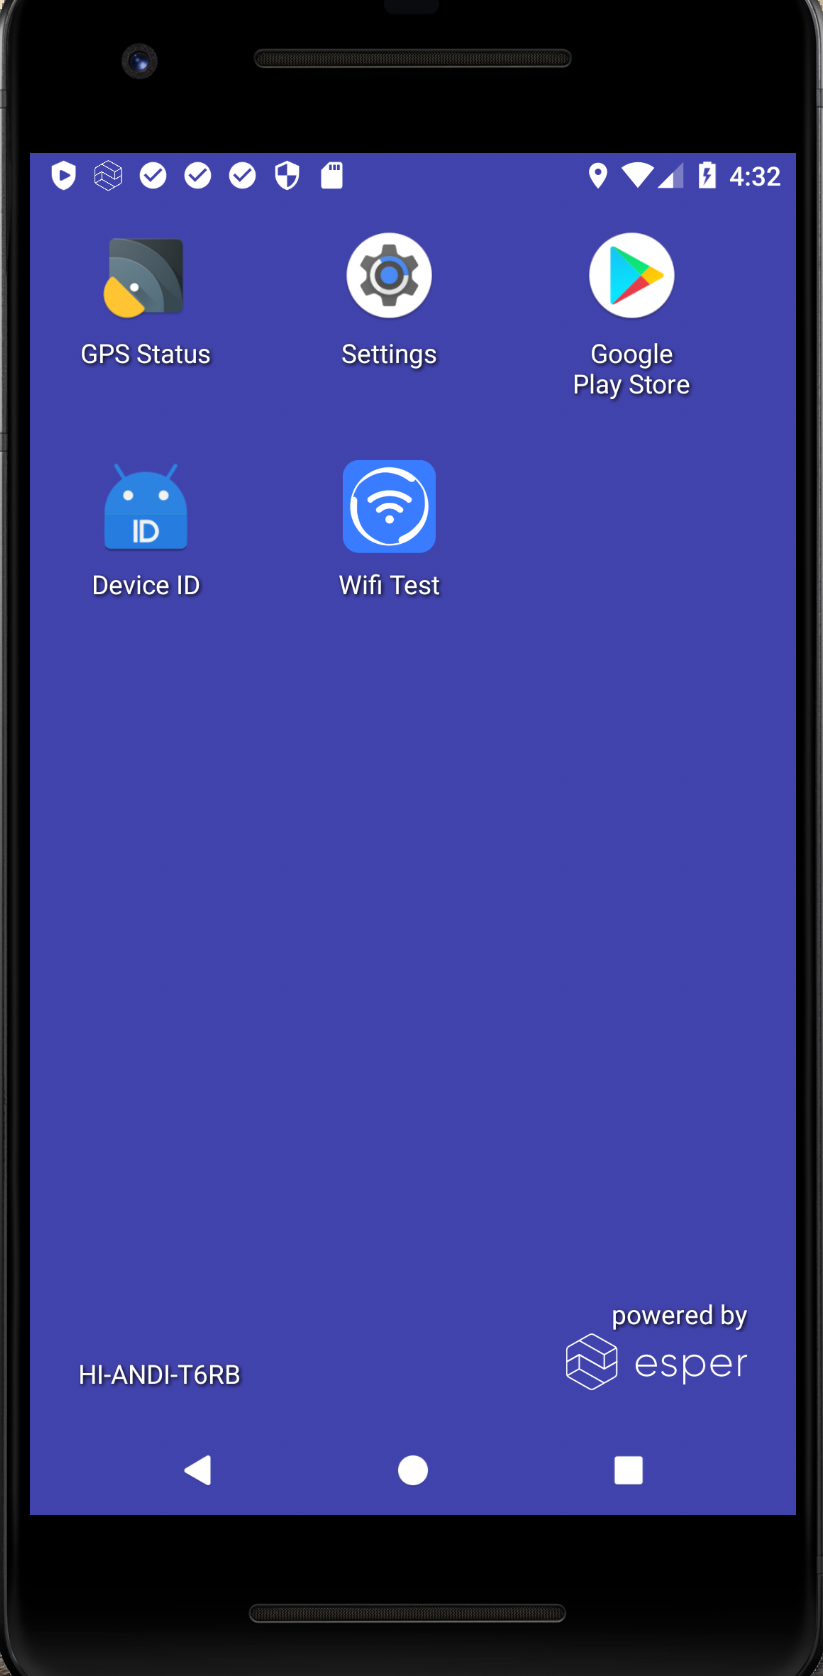
After this step, provisioning is finished and your device is set up according to your provisioning template. In this example, the device is provisioned in multi-app mode with three Enterprise apps installed from Esper Cloud and managed Google Play enabled.
Handling Other Notifications During Provisioning
If you plan to use Esper Cloud to install your own Enterprise apps, we recommend not enabling Google Play Protect, since it can block your apps. Occasionally, a device ships with a custom launcher app in ROM, and you'll get a popup to choose which app to use as the Home app. Choose Esper, then select Always.
You may also see notifications to improve location accuracy. Agreeing to use these services passes your location data to a third party. You typically need to accept end user licensing agreements (EULAs) for the device to function, but optional choices regarding diagnostic data and additional services are frequently presented separately. Evaluate the tradeoff based on your use case; we typically recommend declining these services.
If you encounter any other notifications you're not sure how to handle, contact Esper.
Provisioning an AVD
An Android Virtual Device (AVD) is a device configuration simulated by the Android Emulator on your computer. With the Device Provisioner, you can enroll and provision the AVD to your Esper tenant, making it available for development and testing.
- Create or run an AVD from the configurations available in Android Studio. See the Android Studio documentation.
- Once the AVD is running, start the Device Provisioner and follow the steps to prepare the device, select your Provisioning Template, and download your Enterprise applications.
-
On the Select Devices screen, your AVD appears as an emulated device.
In some cases, you may need to first runadb tcpip 5555via the command line on the AVD for the Device Provisioner to connect to it.Select it and click Install.
- Once installation of the Esper Agent on the device completes, take the appropriate actions on the device to finish enrollment and provisioning.
Once provisioning is done, the AVD is part of your Esper fleet, and you can manage it like an actual Android device.
Logging Out of the Device Provisioner
- Click the person icon in the upper right corner of the screen. A dropdown shows the account you're logged into.
-
Click Log out to log out of your account.
If you have a single tenant configured with the Device Provisioner, you're presented with the login screen before you can use the application again. If you have multiple tenants configured, you can select which account to log back into, or switch to an account you're already logged into.
Using the Device Provisioner with Multiple Esper Tenants
The Device Provisioner can be configured to work with multiple Esper tenants.
-
To add your account for an additional tenant, click the person icon in the upper right corner of the screen, then click Add account.
- On the login screen, click Add another account.
- On the login screen that appears, follow the same steps you used to set up your first tenant login.
To switch accounts, open the Device Provisioner, click the profile icon in the upper right corner, and click Switch Account for the account you want to use.
Troubleshooting
I receive an error: "waiting for device admin or owner rights" when trying to provision.
First, try factory resetting the device. If the device was previously part of a different device management software, unenroll it, then try provisioning again. If you still get the error, you may need to work with your device manufacturer to release the device so it can be provisioned to Esper.
I receive an error: "Exception occurred while executing 'set-device-owner': java.lang.IllegalStateException: Not allowed to set the device owner because there are already some accounts on the device."
First, try factory resetting the device. Then remove any Google accounts under Android Settings that are currently synced to the device. If the issue is a Google account, you can usually continue with the provisioning tool setup. If other admin accounts are also set up on the device, you may need to factory reset the device again and restart the provisioning process.